Thủ Thuật
Cách xem Product Key trên Windows 10
Th7
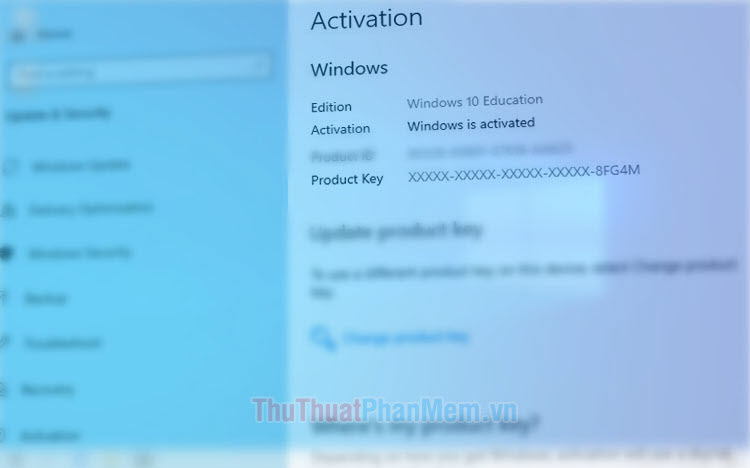
Key bản quyền trên Windows 10 bị ẩn vì lý do bảo mật nên bạn không thể nhìn thấy key bản quyền trên Windows 10 trong các mục cài đặt hay kích hoạt. Nếu bạn tò mò và muốn kiểm tra key Windows 10 chuẩn xác nhất thì bạn hãy làm theo hướng dẫn sau đây.
Bước 1: Bạn tải về tool xem Product key từ GitHub tại https://github.com/mrpeardotnet/WinProdKeyFinder/releases
Bạn click vào file .zip để tải về.

Bước 2: Bạn giải nén và click vào thư mục (1) => mở ứng dụng WinProdKeyFind (2).

Sau đó thì mã bản quyền trên máy tính của bạn sẽ hiển thị lên.

Cách 2. Sử dụng Command Prompt
Bước 1: Bạn vào Search (1) => tìm cmd (2) => Run as administrator (3).

Bước 2: Bạn nhập lệnh sau và ấn Enter.
wmic path softwarelicensingservice get OA3xOriginalProductKey

Sau đó thì mã key bản quyền Windows của bạn sẽ hiển thị ở phần bên dưới lệnh.

Cách 3. Sử dụng mã VBS để xem key
Bước 1: Bạn click chuột phải vào Desktop => chọn New (1) => Text Document (2).

Bước 2: Bạn chép đoạn mã sau vào Notepad.
Set WshShell = CreateObject("WScript.Shell")
MsgBox  ConvertToKey(WshShell.RegRead("HKLMSOFTWAREMicrosoftWindows  NTCurrentVersionDigitalProductId"))
Function ConvertToKey(Key)
  Const KeyOffset = 52
  i = 28
  Chars = "BCDFGHJKMPQRTVWXY2346789"
  Do
  Cur = 0
  x = 14
  Do
  Cur = Cur * 256
  Cur = Key(x + KeyOffset) + Cur
  Key(x + KeyOffset) = (Cur  24) And 255
  Cur = Cur Mod 24
  x = x -1
  Loop While x >= 0
  i = i -1
  KeyOutput = Mid(Chars, Cur + 1, 1) & KeyOutput
  If (((29 - i) Mod 6) = 0) And (i <> -1) Then
  i = i -1
  KeyOutput = "-" & KeyOutput
  End If
  Loop While i >= 0
  ConvertToKey = KeyOutput
End Function
Tiếp theo, bạn click vào File (1) => Save As (2).

Bước 3: Chọn nơi lưu file (1) => thiết lập All files (2) => đặt tên file với phần mở rộng .vbs (3) => Save (4).

Bước 4: Bạn mở file vừa tạo và thông tin về mã Product key sẽ hiển thị trong popup.

Cách 4. Sử dụng lệnh thực thi trong Windows Power Shell
Bước 1: Bạn click chuột phải vào Desktop => New (1) => Text Document (2).

Bước 2: Bạn dán lệnh sau vào Notepad.
function Get-WindowsKey {
  ## function to retrieve the Windows Product Key from any PC
  ## by Jakob Bindslet (jakob@bindslet.dk)
  param ($targets = ".")
  $hklm = 2147483650
  $regPath = "SoftwareMicrosoftWindows  NTCurrentVersion"
  $regValue = "DigitalProductId"
  Foreach ($target in $targets) {
  $productKey = $null
  $win32os = $null
  $wmi =  [WMIClass]"\$targetrootdefault:stdRegProv"
  $data = $wmi.GetBinaryValue($hklm,$regPath,$regValue)
  $binArray = ($data.uValue)[52..66]
  $charsArray =  "B","C","D","F","G","H","J","K","M","P","Q","R","T","V","W","X","Y","2","3","4","6","7","8","9"
  ## decrypt base24 encoded binary data
  For ($i = 24; $i -ge 0; $i--) {
  $k = 0
  For ($j = 14; $j -ge 0; $j--) {
  $k = $k * 256 -bxor $binArray[$j]
  $binArray[$j] = [math]::truncate($k / 24)
  $k = $k % 24
  }
  $productKey = $charsArray[$k] + $productKey
  If (($i % 5 -eq 0) -and ($i -ne 0)) {
  $productKey = "-" + $productKey
  }
  }
  $win32os = Get-WmiObject Win32_OperatingSystem -computer  $target
  $obj = New-Object Object
  $obj | Add-Member Noteproperty Computer -value $target
  $obj | Add-Member Noteproperty Caption -value  $win32os.Caption
  $obj | Add-Member Noteproperty CSDVersion -value  $win32os.CSDVersion
  $obj | Add-Member Noteproperty OSArch -value  $win32os.OSArchitecture
  $obj | Add-Member Noteproperty BuildNumber -value  $win32os.BuildNumber
  $obj | Add-Member Noteproperty RegisteredTo -value  $win32os.RegisteredUser
  $obj | Add-Member Noteproperty ProductID -value  $win32os.SerialNumber
  $obj | Add-Member Noteproperty ProductKey -value  $productkey
  $obj
  }
  }
Tiếp theo, bạn vào File (1) => Save As… (2).

Bước 3: Bạn chọn nơi lưu file (1) => chọn All Files (2) => đặt tên với phần mở rộng .ps1 (3) => Save (4).

Bước 4: Bạn click vào Search (1) => tìm kiếm từ khoá powers (2) => Run as administrator (3).

Bước 5: Bạn thực hiện lệnh sau và Enter.
Set-ExecutionPolicy RemoteSigned

Ấn Y để đồng ý thay đổi thiết lập.

Bước 6: Bạn click chuột phải vào file PowerShell (1) vừa tạo ở Bước 2,3 => Properties (2).

Tiếp theo, bạn ghi nhớ đường dẫn (3) và tên file (4) để chèn vào lệnh tiếp theo trong PowerShell.

Bước 7: Bạn quay lại PowerShell và thực hiện lệnh sau.
Import-Module <đường dẫn file>; Get-WindowsKey
Với <đường dẫn file> là đường dẫn tới file mà bạn lấy ở Bước 6.

Bước 8: Sau khi thực hiện lệnh xong thì bạn có thể xem ProductKey hiển thị bên dưới.

Với hướng dẫn trong bài viết thì bạn có thể kiểm tra key trên Windows 10 dễ dàng. Bạn có thể thực hiện những cách trên bài viết cho các phiên bản Windows cũ hơn như Windows 8.1/7/Vista.
Nguồn tham khảo từ Internet
Bài viết cùng chủ đề:
-
Cách viết căn bậc 2 trong Word
-

Cách đánh dấu tích trong Word
-

Cách thu hồi thư đã gửi, Recall mail trong Outlook
-
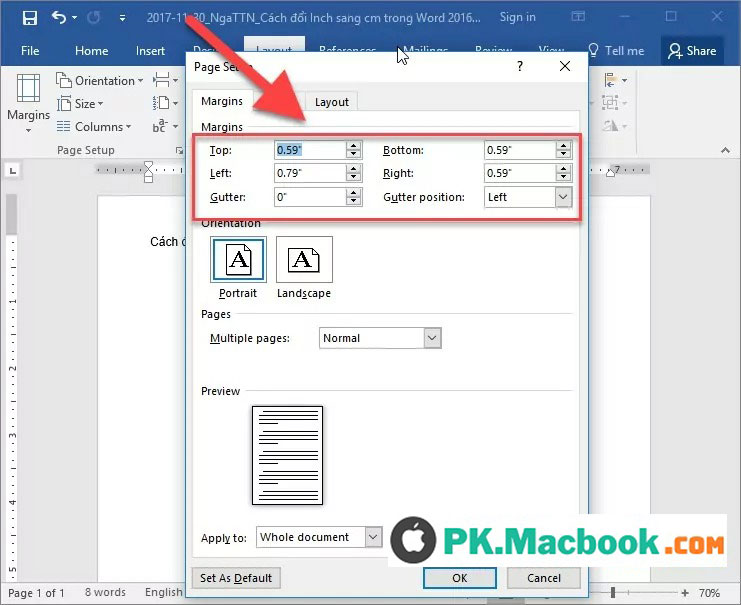
Cách đổi Inch sang cm trong Word 2016
-

Top 5 Phần mềm thiết kế nhà miễn phí tốt nhất hiện nay 2021
-

Cách chuyển Excel sang PDF, chuyển file Excel sang PDF nhanh chóng, giữ đúng định dạng
-
Cách cài chế độ truy bắt điểm trong CAD
-
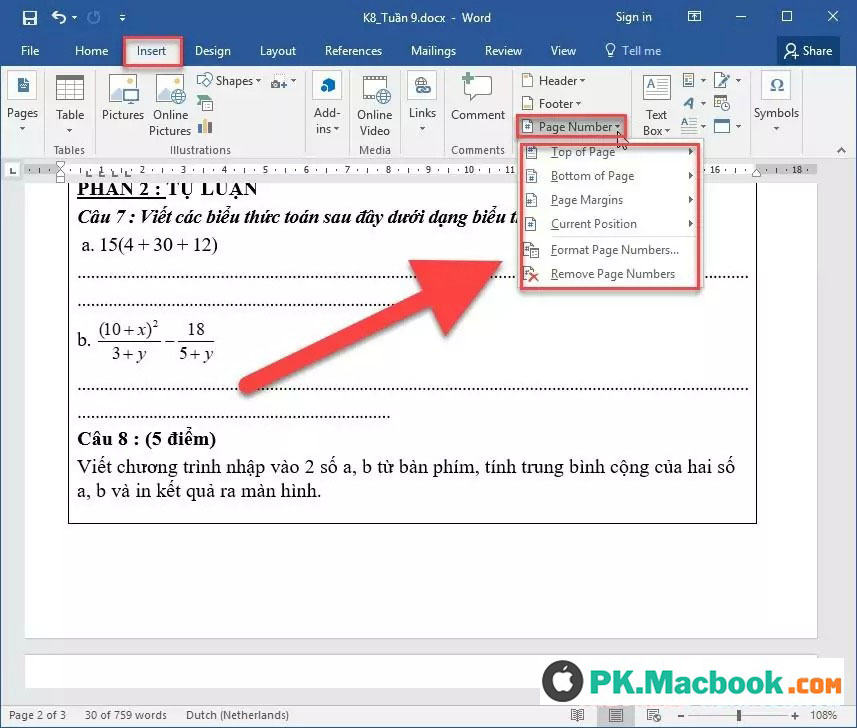
Cách đánh số trang trong Word 2016
-

Những stt buông tay hay nhất
-

Cách chụp màn hình Zalo
-
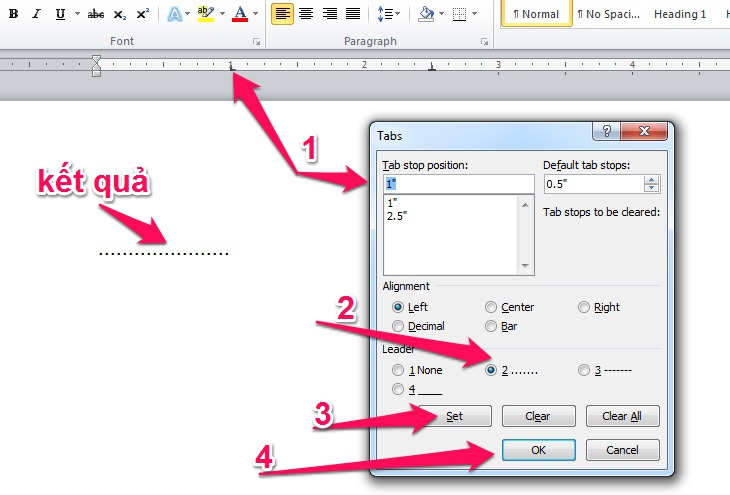
Hướng dẫn cách đặt Tab trong Word
-

Cách chỉnh khoảng cách chuẩn giữa các chữ trong Word
-

Các cách tải nhạc về máy tính đơn giản, nhanh chóng
-
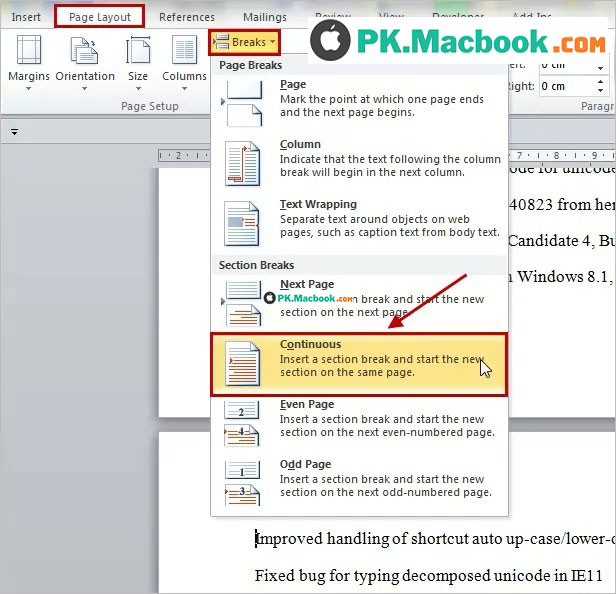
Xoay ngang 1 trang bất kỳ trong Word
-

Cách sửa lỗi chữ trong Word bị cách quãng, chữ bị cách xa trong Word
-

Cách thêm font chữ vào PowerPoint, cài font chữ đẹp cho PowerPoint